A few weeks ago my
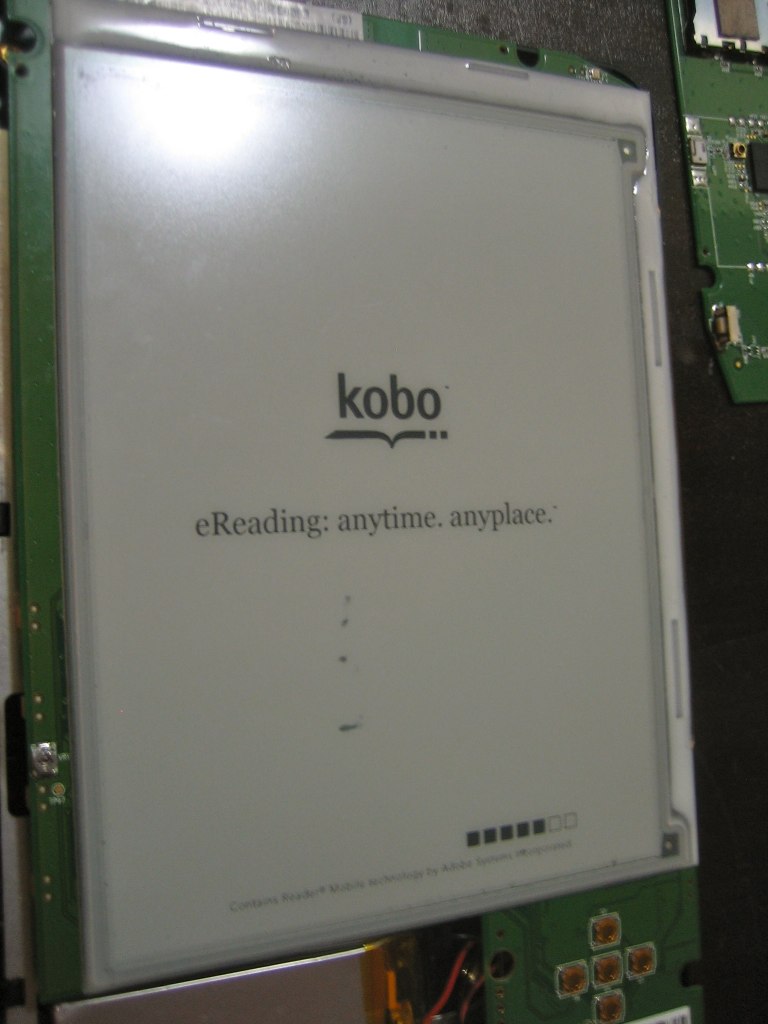
Kobo Wifi e-reader suffered an unfortunate accident. I got caught in a thunderstorm and the pocket of my messenger bag filled with water. (Good: my Brooks Barbican bag is waterproof. Bad: water can't get out once it's in.) It was a few hours before I noticed that my Kobo had been partly submerged for an extended period. The poor thing just displayed a plaintive "Please Charge Your eReader" message. Pressing the power button caused some lights to flash, but no activity on the screen. It wasn't completely dead, but it wasn't working either.
Coincidentally, the next day my friend Roo tweeted that he'd dropped his Kobo and broken the screen. I suspected that between the two of us we probably had enough parts to build a working Kobo, so I arranged to collect his e-reader so I could try to rebuild one.
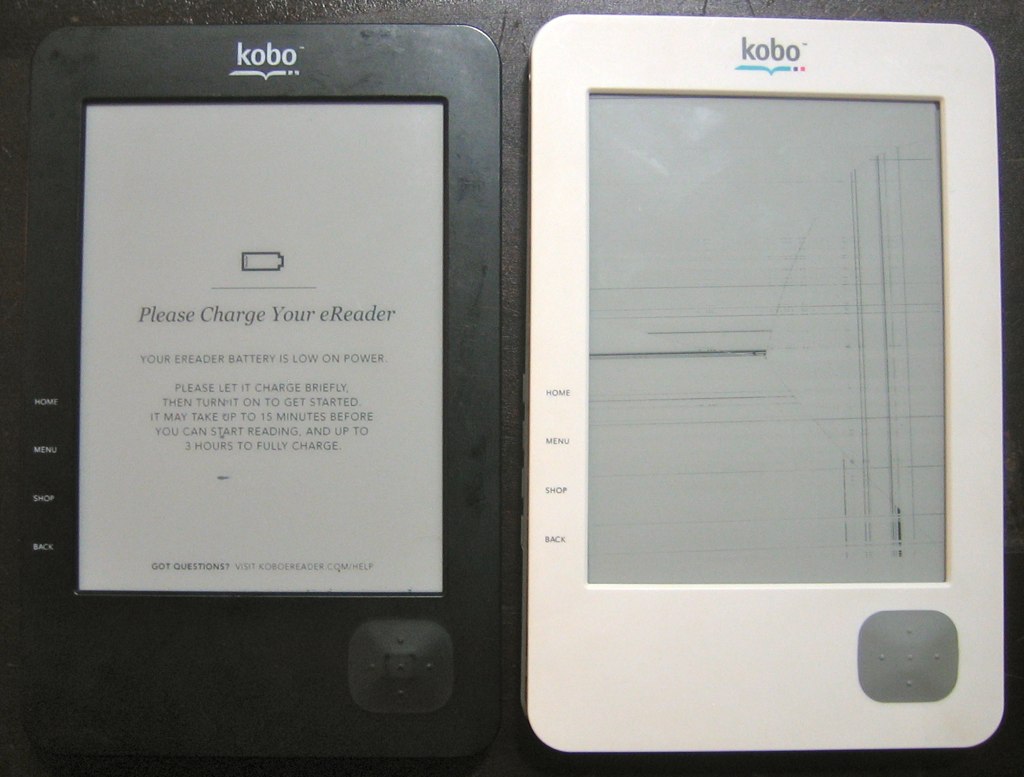 |
| Dead board (left) dead screen (right) | |
|
The first step was opening the cases. The Kobo cases just snap together, so you can pry them apart fairly easily. Be careful as you risk cracking the case if you bend it too much. I damaged the white case a bit but was able to get the black one off without any problem. The board is attached to the rear half of the case with four Phillips screws which are easily removed.
 |
| Naked Kobos |
The Kobo is fairly simple inside. The e-ink screen is mounted on the circuit board and connected to it with a
flexible flat cable which wraps over the right-hand side of the board to a plug on the reverse. There's a lithium-polymer battery in the lower left hand corner, and you can see the 5 buttons of the rubber navigation pad in the lower right corner.
It took me a while to figure out how the screen was attached. I was worried that it might be glued to to board. Fortunately, it's quite easy to remove once you know that it's only attached with four strips of double sided tape.
First, unplug the flexible connector, but be careful! The plug
has a plastic clamp to hold the connector in place. These break easily
and without the clamp you'll get a poor connection. You need to disconnect this so that you can have unobstructed access to the edge of the screen.
I found that a thin utility blade slipped easily between the screen and the board. Just run this around all four edges and you'll loosen the tape. The tape will re-adhere pretty quickly, but it's quite easy to pry the screen off with your fingers once you've cut through the tape.
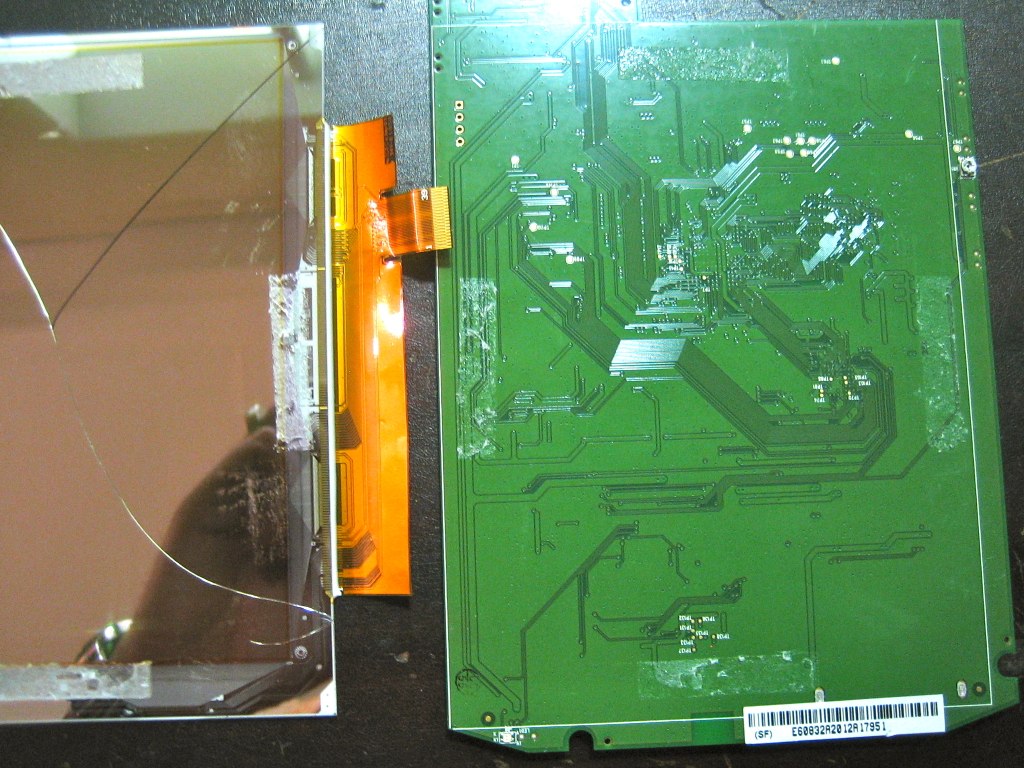 |
| Screen detached. You can see where the four pieces of tape were. |
|
Once both screens were off it was a simple matter to swap them. The boards also have Micro-SD cards which are used to store your books. (This is in addition to the SD expansion slot at the top of the card. This means that if you want to expand your Kobo's capacity you could probably easily replace the 2GB Micro-SD card with a larger one.) I swapped the Micro-SD cards, too.
While it was open, my friend
Trammell pointed out that there were some connectors near the navigation pad which looked suspiciously like a serial port. (They were marked Tx and Rx, which was a bit of a give-away!) We connected it to a terminal emulator and were able to watch the Linux kernel boot as the Kobo powered on. It seemed a shame to hide that in the case, so before I put the case back on Trammell helped me make a few small modifications. We added a small hole to the case and soldered a connector onto the serial port.
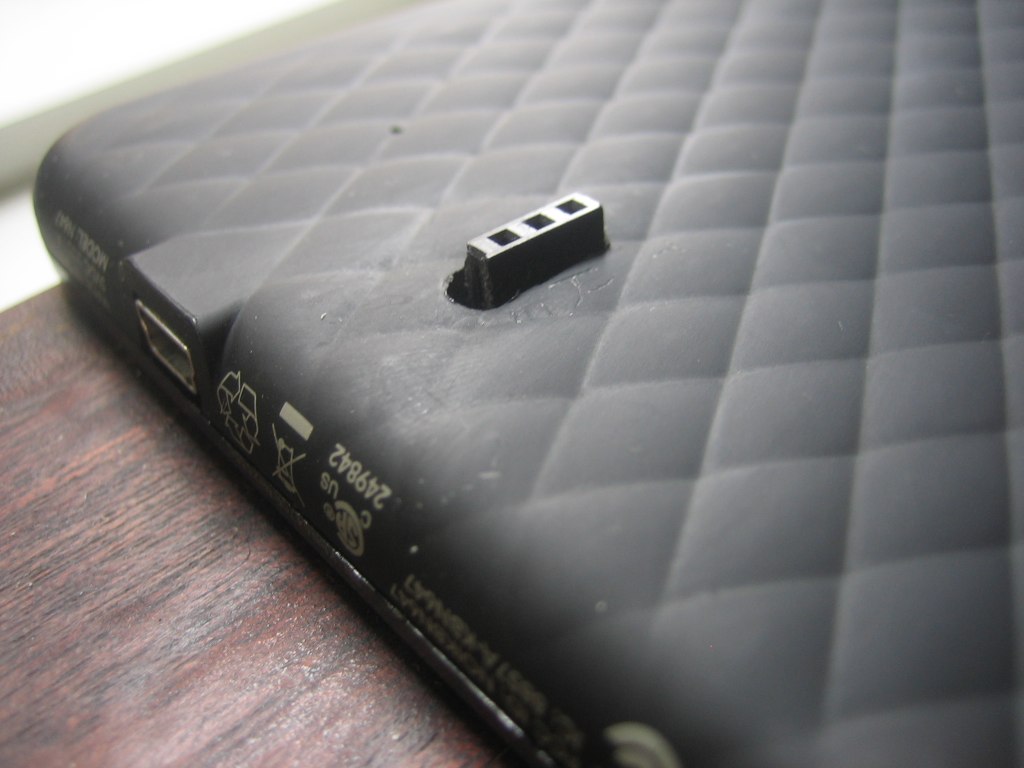 |
| Serial connector. From top to bottom: V, Tx, Rx |
|
I haven't played much with the serial port yet, but I expect it might expose some interesting opportunities.
After swapping the Micro-SD cards the new Kobo showed all of my books in my library, but would only let me read some of them. This suggests that the DRM scheme is tied to some serial number on the device, and also that not all books are protected by DRM. I did a factory reset on the Kobo, connected it to my laptop and resynced all of my books. This made all the books readable again.